I am not much of a stamper so it was a challenge for me. I made a few mistakes. The stamp set is designed to look like off register printing. The red flower that I stamped is a bit too off but I got better on the other red flowers. I stamped the flowers first with the foam stamps and some acrylic paint I had. Then when the paint was dry I stamped over it with the clear stamp with black dye ink.

I save my cardboard backers. I cut 3 of them down to 8x12 then taped them together on one side. As you can see one piece of cardboard has been used under a paint project.

I then glued 2" strips of cream paper to the entire length with the Yes glue. I wanted it to have a decoupaged look.

I just spread this glue on with my fingers. Washes off with no problem and it doesn't leave your paper bubbly.

As you can see I had too much paint on my stamp and it slipped when I pressed it down. I also had a bit of paint on my finger that got on the paper. I will show you how I fixed that.

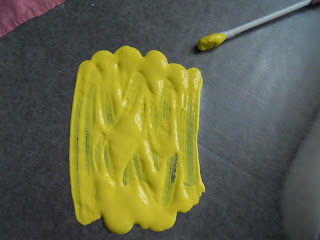
If you spread the paint out well and make sure you don't get too much on your stamp it works out well. I spread it out on wax paper.

Here is another mistake. As I was lifting up my clear stamp I dropped it and it fell here. I tried to restamp it to see if I could do something with it but I ended up covering the whole thing up.

Here is what I covered my little boo boo up with. The little blue dots I painted on were to cover up the paint that had gotten on the paper from my fingers. I just circled them with a black pen.

This was one of my favorite leaves. It was a learning experience. I just marked the numbers on the side with a pen and painted on the measurement marks. I tried not to get too fussy. When I was finished I painted around the edges with black paint and then mod podged the whole thing. I punched two holes in the top and threaded some ribbon through.


You put so much detail work into this! I just love it. And you're so good to not put it on your blog till we posted it (thanks)-- I cheated and posted one of my projects early. I try not to do it very often! :)
ReplyDelete